REVIEW · VENICE
Photography workshop in the magical Venice (3h)
Book on Viator →Operated by Andrea Zavagnin · Bookable on Viator
Venice is a camera-ready city. This 3-hour photography workshop turns the walk from Santa Lucia toward Rialto and ending at Piazza San Marco into a practical lesson in street photography and architecture composition with guidance from Andrea Zavagnin.
I especially like how the session starts with real questions about your camera experience, then steers you toward techniques that fit what you’re actually using. I also love the hands-on feel of walking Venice as your “canvas,” so the tips stay attached to what you’re seeing.
One consideration: no photography gear is provided, so you’ll need to bring your own camera (and whatever lenses or settings you rely on) to get the most out of it.
In This Review
- Key highlights you’ll feel fast
- Venice Through A Camera: What You’ll Learn in 3 Hours
- Starting at Stazione Santa Lucia: Getting Your Bearings and Your Framing
- Rialto Walk: Street Scenes Where Composition Becomes a Skill
- Piazza San Marco Finish: Strong Architecture and Classic Angles
- Andrea Zavagnin’s Method: Questions First, Then Real Coaching
- What to Bring: Your Camera, Plus the Tripod Help
- Price and Value: Is $162.06 Worth It in Venice?
- Who This Workshop Suits Best (and Who Might Skip It)
- Weather, the €5 Access Fee Days, and Realistic Planning
- Should You Book Andrea Zavagnin’s Venice Photo Workshop?
- FAQ
- Where does the photography workshop start?
- How long is the workshop?
- Does the workshop provide photography equipment?
- Is a tripod provided?
- What’s the walking route during the workshop?
- How big is the group?
- Are children allowed?
- Are service animals allowed?
- Is the workshop affected by weather?
- Is there any Venice access fee I should know about?
- What’s the cancellation policy?
Key highlights you’ll feel fast
- Small group (max 8), so you’re not lost in a crowd when you ask questions.
- Guided walk from Santa Lucia to Rialto to San Marco, built around Venice’s best photo angles.
- Street photography + architecture techniques, not just pretty viewpoints.
- Camera coaching tailored to your level, based on what you already know and what your gear can do.
- Andrea brings a tripod, which helps you practice stability and framing even if you travel light.
- Tripod plus walking = repeatable habits, the kind you’ll use long after this workshop ends.
Venice Through A Camera: What You’ll Learn in 3 Hours
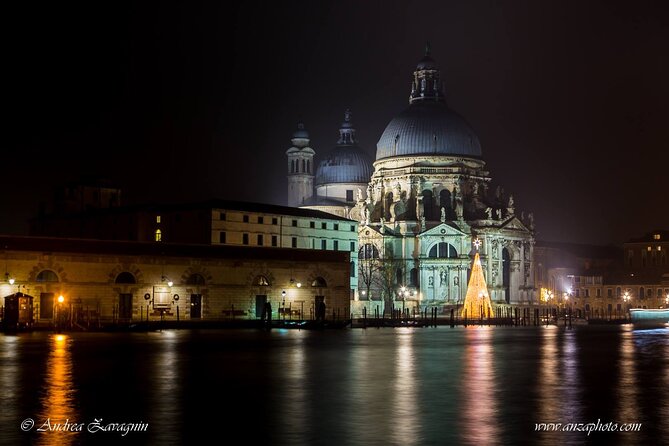
Venice has a way of making you point your camera at everything. The trick is learning what to point it at—and why. This workshop is built to help you slow down just enough to make stronger images without turning your vacation into a classroom.
You’ll spend about three hours moving from Stazione di Venezia Santa Lucia up toward Rialto, and finishing near Piazza San Marco. Along the way, you’re taught street photography habits and architecture-focused techniques for framing buildings, reflections, and lines. It’s not theory dumped on you; it’s learning while you walk and shoot.
The value here is that guidance stays connected to your real constraints. You’re dealing with narrow streets, sudden photo moments, crowds, and bright Venice light. Andrea’s approach (based on what people report) is responsive: he asks questions first, then adjusts the route and the coaching so the workshop matches your skill level and camera comfort.
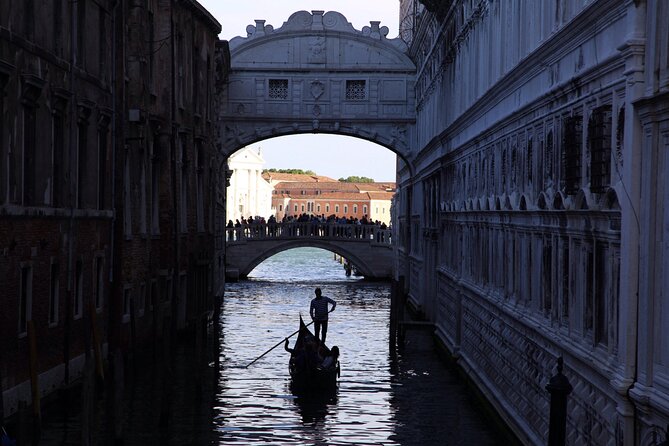
And the setting helps. Santa Lucia to Rialto to San Marco is a natural progression from arrival-energy to classic Venice drama. Even if you’ve photographed Venice before, the workshop format pushes you past simple postcards toward pictures you’ll be proud to show people.
You can also read our reviews of more photography tours in Venice
Starting at Stazione Santa Lucia: Getting Your Bearings and Your Framing
You meet at Stazione di Venezia Santa Lucia. It’s a smart start point because it’s where you’re already arriving from the rest of Italy, so the workshop feels grounded in travel reality—not in a hotel meeting-room.
From there, the plan is straightforward: you walk up toward Rialto and then onward to Piazza San Marco. What matters is how the walk is used. Instead of only stopping at the most obvious viewpoints, you practice the photo skills where they actually show up: in street rhythms, changing perspectives, and the way Venice’s geometry pulls your eye.
Here’s what you should expect in the early stage: you’ll get your first set of composition cues and a quick path to stop shooting on autopilot. People talk about learning to use the camera off auto, plus practical hints for composition. That’s the shift that changes your images most: you start choosing, not just recording.
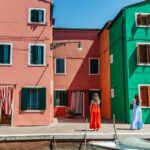
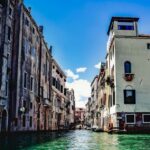
If you like street photography, you’ll enjoy how Venice gives you constant subjects—doorways, small bridges, shadows between buildings, and the way people move through tight spaces. If you’re more into architecture, you’ll get a chance to look at lines and angles in motion, not just from a single static stop.
Rialto Walk: Street Scenes Where Composition Becomes a Skill
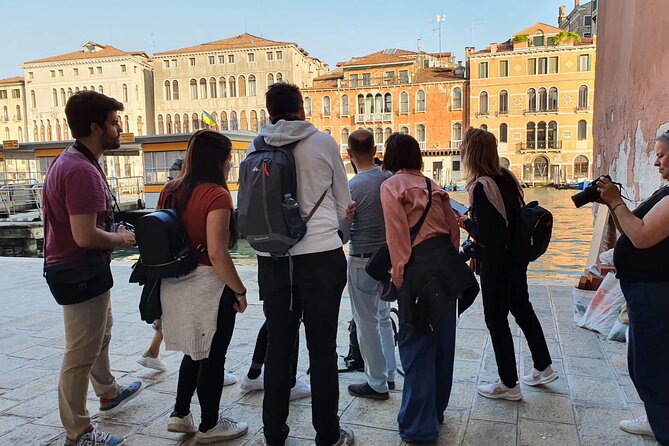
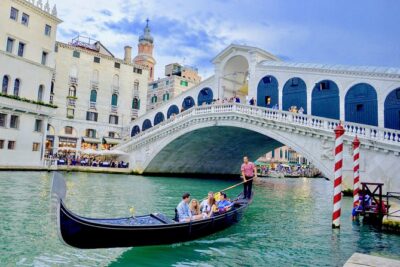
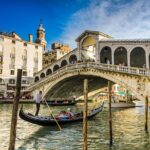
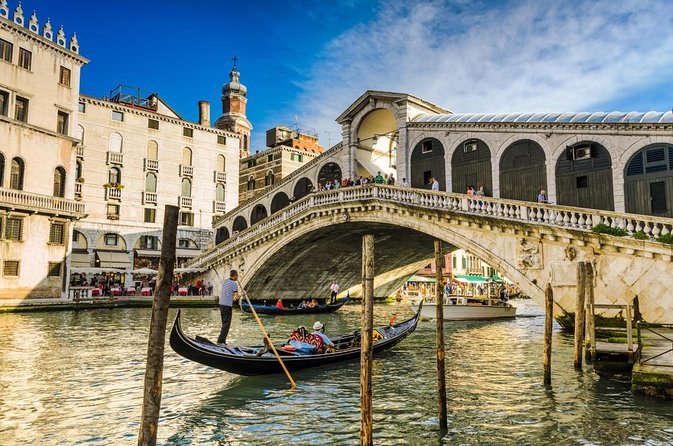
Rialto is the heart-of-it moment for most Venice trips. But here, Rialto isn’t treated like a single photo stop—it’s part of a guided shooting route.
As you move, Andrea’s coaching is meant to help you do two things at once:
- See with a purpose (what element is the subject?)
- Build the frame (where do lines, edges, and negative space go?)
That’s why street photography and architecture techniques belong together. Venice streets constantly offer architectural structure—columns, facades, bridges, rooftops—and the best street shots often use that structure to hold the image together.
From the feedback you’ll hear from other participants, one of the most praised parts is that the workshop feels like a guided class while you’re walking. The coach doesn’t just say what looks good; he teaches how to get there with your own camera. That’s huge because Venice light changes fast. If you learn how to adjust quickly, you’ll get better results even when conditions aren’t perfect.
One practical drawback of any Venice street-photo session: you’ll be moving while you shoot. If your camera setup takes time—manual adjustments, lens changes, or fiddly menus—plan to keep it simple during the workshop. Bring what you can use fast. Your reward is learning habits you can repeat later.
Piazza San Marco Finish: Strong Architecture and Classic Angles
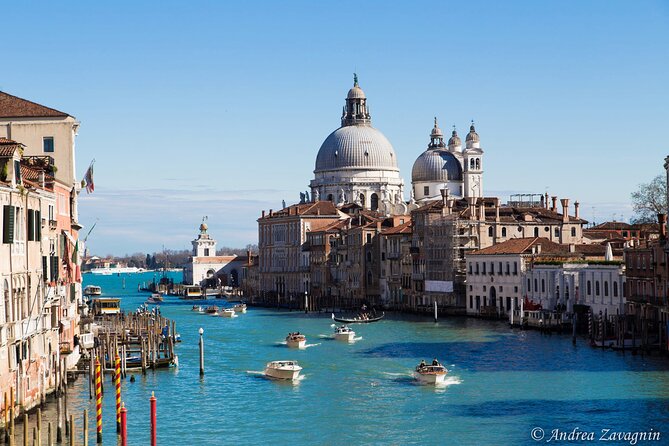
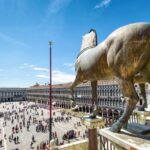
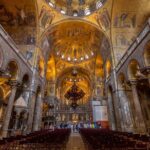
The workshop ends at Piazza San Marco, and it’s a logical finish. By the time you reach the square, you’ve already practiced framing in smaller streets, so you’ll be better prepared to handle the bigger architectural spaces.
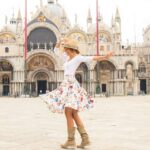
In places like San Marco, you’ll likely focus on how architecture interacts with human scale and how the square’s layout creates strong compositional options. Think lines, symmetry, and the way buildings stack visually. Even if you’re not chasing the most famous postcard view, you can use the architecture techniques you practiced earlier to make more personal images.
A nice detail in the coaching approach: it’s adjusted to what you’re using. If you’re comfortable with your camera, you’ll probably be pushed toward more intentional composition. If you’re new to manual settings, you’ll get step-by-step guidance that helps you get off autopilot without getting overwhelmed.
Also, since it’s a group experience (max 8), you’ll get to see different ways people frame the same kind of scene. That can be motivating and it helps you learn faster than shooting alone.
Andrea Zavagnin’s Method: Questions First, Then Real Coaching
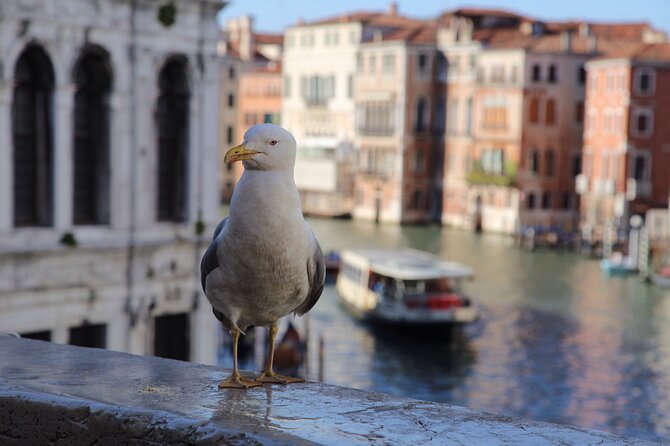
The most consistently praised element is Andrea’s way of working. People highlight that he asks questions to understand their camera background, then adapts the workshop on the fly. That means you’re not stuck with a one-size-fits-all script.
A few practical pieces you can expect from his style, based on what participants describe:
- You’ll talk about what you’re shooting with and where you feel stuck.
- You’ll get hints you can apply immediately while walking.
- You’ll practice techniques in Venice instead of leaving with a list of tips you can’t translate.
One person even mentioned the session turning into an effectively one-to-one experience when the group was small, stretching into a longer walking session. That’s not something you should count on, but it signals the real value: Andrea is engaged enough to tailor instruction when he can.
If you want a workshop that feels like coaching—questions, corrections, and immediate feedback—this one fits that goal. If you just want a scenic walk with minimal instruction, you might find it more educational than casual. But for photography people, it’s the sweet spot.
You can also read our reviews of more tours and experiences in Venice


What to Bring: Your Camera, Plus the Tripod Help
Here’s the equipment reality check: no photography equipment is provided. You’ll need to bring your own camera, and bring whatever settings or lenses you know how to use. The tripod part is covered differently: Andrea brings his tripod for use during the workshop.
So you don’t need to travel with a tripod if you don’t already have one. But do bring your camera confidently, because the point is to learn techniques you can apply on your own body of gear.
A practical packing tip for this kind of walk: keep your setup travel-friendly. In a Venice street setting, you don’t want a camera bag that slows you down every time a composition opportunity pops up. If you’re debating between one lens you love and three lenses you’ve never used much, bring the lens you’ll actually use during those 3 hours.
Also, since the workshop is weather-dependent, wear shoes you can walk in. Venice rewards mobility for photo timing.
Price and Value: Is $162.06 Worth It in Venice?
At $162.06 per person for about three hours, the price isn’t cheap. But it’s also not inflated for a group of this size, and the value isn’t only the location—it’s the instruction.
What you’re paying for:
- A guided photo walk where you practice street + architecture technique
- A coach who adjusts based on your experience level
- A small group size (max 8), which makes question time realistic
- A built route from Santa Lucia to Rialto to San Marco, designed to keep your camera active
If you were to do this alone, you might spend hours walking and shooting and still wonder why certain images feel stronger. This workshop tries to remove that guesswork by teaching you how to compose intentionally and how to move beyond auto settings.
A quick reality check: Venice photography workshops can be hit-or-miss if they’re mostly sightseeing. This one is designed to be about the camera. If that’s your priority, it’s strong value for the time and the guidance you get.
Finally, it’s popular enough that many people book in advance—on average about 59 days. If you know your travel dates, reserve early so you’re not stuck with whatever’s left.
Who This Workshop Suits Best (and Who Might Skip It)
This workshop is a good match if:
- You’re interested in street photography and architecture rather than only landmarks
- You want hands-on instruction, not just a route map
- You like the idea of a small group (max 8) where you can actually ask questions
- You’re willing to bring your own camera and shoot during the walk
It can also work well for families. Children and teenagers up to 13 can participate for free, with the requirement that you notify the organizer in advance and provide the number and ages. That’s useful if you want a learning experience that doesn’t punish you for traveling with younger photographers.
Consider skipping if you:
- Don’t have a camera you can use right away
- Prefer a totally low-effort, sightseeing-only Venice day
- Are not comfortable walking the length of a Venice route from Santa Lucia toward Rialto and onward
One more note: service animals are allowed, and it’s near public transportation, which makes it easier to fit into a day in Venice.
Weather, the €5 Access Fee Days, and Realistic Planning
Venice days can change fast, and this workshop is weather-dependent. If it’s canceled due to poor weather, you’ll be offered a different date or a full refund. That’s exactly what you want for a photo walk, since rain and wind can make it hard to shoot comfortably and to move safely.
There’s also an item worth knowing for your day plan: on certain dates, people visiting from outside Venice who are planning to be there for the day may need to pay a €5 access fee. The organizer points you to the official site for the applicable days and exemptions. Since you might arrive as a day visitor, check your travel date so there are no surprises when you’re already on the move.
Finally, plan to keep your expectations practical. Three hours in Venice is a lot of time for walking, but it still goes quickly. If you want to slow down and experiment with composition, you’ll get the best results by listening, shooting promptly, and asking questions when you’re stuck.
Should You Book Andrea Zavagnin’s Venice Photo Workshop?
Yes—book it if you want to come home with images that look like you made choices, not just souvenirs. The standout reasons are the instruction style (questions first, then tailored coaching), the small group size, and the focus on street photography plus architecture techniques in a route that naturally builds photo opportunities from Santa Lucia toward Rialto and out to Piazza San Marco.
Skip it if you’re expecting the workshop to provide camera gear, or if you only want casual sightseeing. In those cases, you’d probably be happier with a free-form Venice walking day and a friendlier photo guide approach.
If you do book, I’d go in ready to shoot. Bring your camera, wear comfortable shoes, and give yourself permission to try a new way of framing—because that’s where the workshop pays off.
FAQ
Where does the photography workshop start?
It starts at Stazione di Venezia Santa Lucia, address 30121 Venice, Metropolitan City of Venice, Italy.
How long is the workshop?
It runs for approximately 3 hours.
Does the workshop provide photography equipment?
No. You must bring your own photography equipment.
Is a tripod provided?
Yes. Andrea brings a tripod.
What’s the walking route during the workshop?
You’ll walk from Santa Lucia up to Rialto, then continue to the final stop at Piazza San Marco.
How big is the group?
The workshop has a maximum of 8 travelers.
Are children allowed?
Children and teenagers up to 13 years old can participate for free, but you must notify the organizer in advance with the number of children and their ages.
Are service animals allowed?
Yes, service animals are allowed.
Is the workshop affected by weather?
Yes. It requires good weather. If it’s canceled due to poor weather, you’ll be offered another date or a full refund.
Is there any Venice access fee I should know about?
On certain dates, day visitors staying outside of Venice may need to pay a €5 access fee. You can check applicable days and exemptions at https://cda.ve.it.
What’s the cancellation policy?
You can cancel for a full refund up to 24 hours before the experience’s start time. If you cancel less than 24 hours before, the amount paid is not refunded.