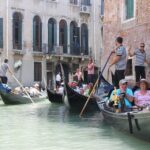
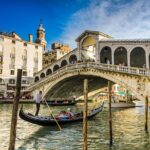
Venice is a fun mess to photograph. This guided Venice photography tour takes you through romantic lanes and less-crowded spots with a professional photographer (Vinicio), helping you get better shots with whatever you carry—camera or smartphone. I especially like that the photographer builds the route around real light and weather, and that the group stays small enough to get direct guidance. The main drawback: the exact turns and photo stops can shift on the spot, so if you have a strict wishlist of specific landmarks, this isn’t built around a fixed checklist.
You’ll meet near San Marco, then head away from the biggest tourist crush to work on framing, angles, and “Venice mood.” Plan on about two hours of walking through characteristic alleys, not museum time. Comfortable shoes help, since this is not wheelchair-friendly.
In This Review
- Key things to know before you go
- Why a photography guide beats random walking in Venice
- Meeting at Campo San Gallo: a smooth start near San Marco
- Two hours of shooting: how the tour typically moves
- Hidden corners and “Venice mood”: what lesser-known spots give you
- The real value: guidance that improves your framing fast
- Smartphone-friendly tips that don’t require special gear
- What’s not included: equipment and post-production limits
- Group size, walking, and who should sign up
- Price and logistics: value for a 2-hour pro-led shoot
- How to prepare so you get better shots immediately
- Should you book this Venice Hidden Spots Guided Photography Tour?
- FAQ
- How long is the Venice Hidden Spots Guided Photography Tour?
- Where is the meeting point?
- What’s the price per person?
- What’s included in the tour?
- Is photographic equipment included?
- Can I use a smartphone instead of a camera?
- What group size should I expect?
- What languages are available?
- Is the tour wheelchair accessible?
Key things to know before you go
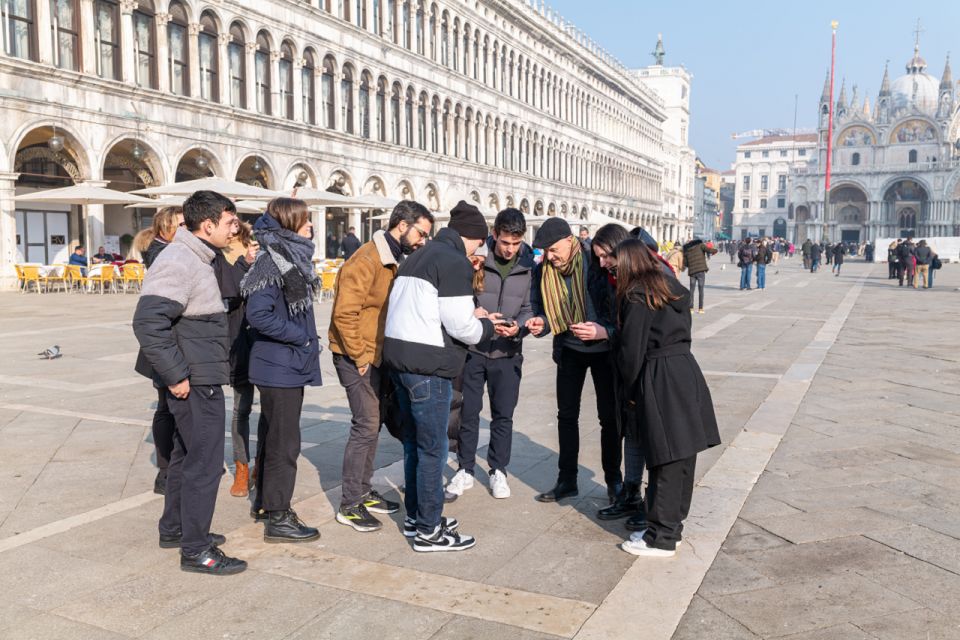
- A pro photographer guides both camera and smartphone shooters, not just “serious” cameras
- The itinerary changes with weather and light, so you chase conditions rather than a rigid script
- Small groups max at 8 people, meaning you’re more likely to get personal feedback
- You’ll focus on lesser-known corners, not the same postcard angles everyone shoots
- No equipment or photo editing included, so bring what you want to shoot with and plan your own follow-up
Why a photography guide beats random walking in Venice
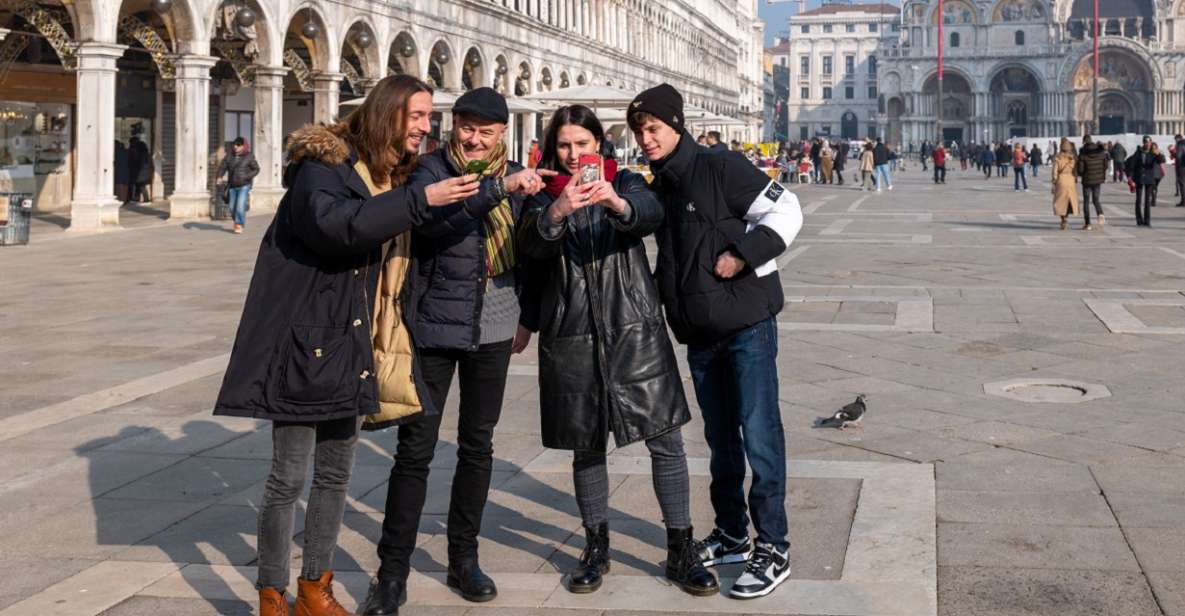
Venice can look effortless in photos, but getting there is another story. The city is packed with bright stone, dark doorways, reflective water, and those narrow streets where one person’s shadow can ruin your shot. A guided photography walk helps because the photographer isn’t just pointing out places to stand. They’re helping you see the scene in a way that turns a busy street into a clean composition.
What I like here is the practical focus. You’re not on a passive sightseeing track. You’re actively shooting, and the guide offers advice based on experience. That matters in a city where the difference between a decent photo and a great one can be one step sideways, one angle up, or one change in timing when the light shifts.
Also, this isn’t limited to “camera people.” The tour is designed for either your camera or your cell phone, so you can show up with what you already use. That keeps the barrier low and the experience more fun. You’re still learning how to frame Venice, not performing with gear you don’t have.
You can also read our reviews of more guided tours in Venice

Meeting at Campo San Gallo: a smooth start near San Marco
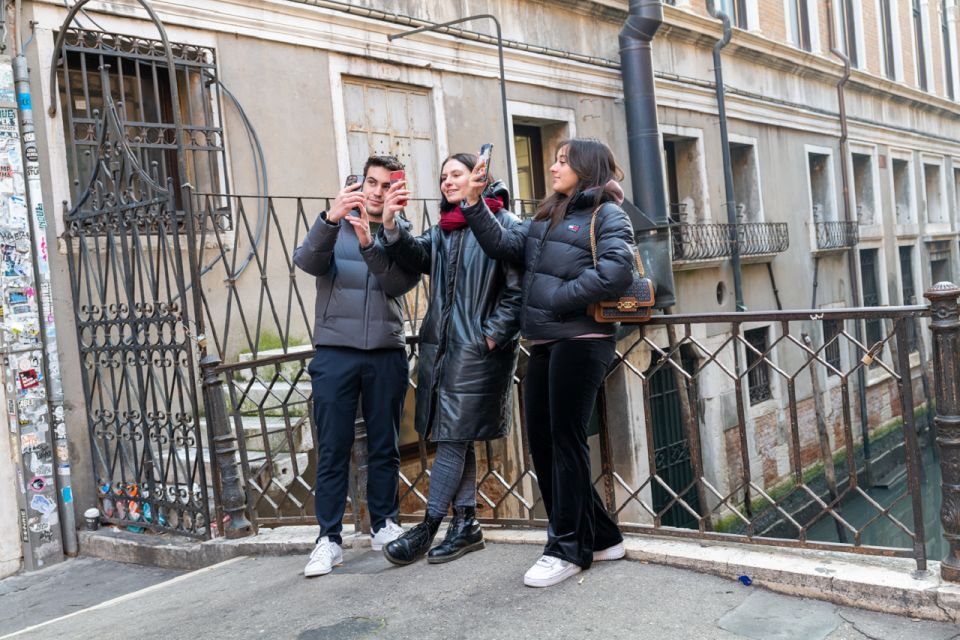
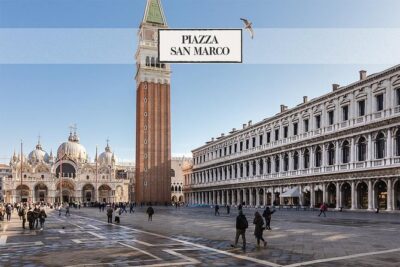
You’ll start at the Venice Tours Office in Campo San Gallo, San Marco 1093/B, right beside San Marco Square. The directions are very specific: with the Basilica of San Marco behind you, stay on the right side of the square. Go under the arches, find the Olivetti Museum, turn right, pass under the archways, cross the little bridge, and go straight to Campo San Gallo.
Why this matters: starting near San Marco means you don’t need to hunt across Venice just to meet. But you also get a built-in advantage—you’re starting in a central zone where you can orient yourself quickly, then the walk can move into quieter lanes afterward.
The end point is back at the meeting location, so you don’t have to figure out a second “get home” puzzle.
Two hours of shooting: how the tour typically moves
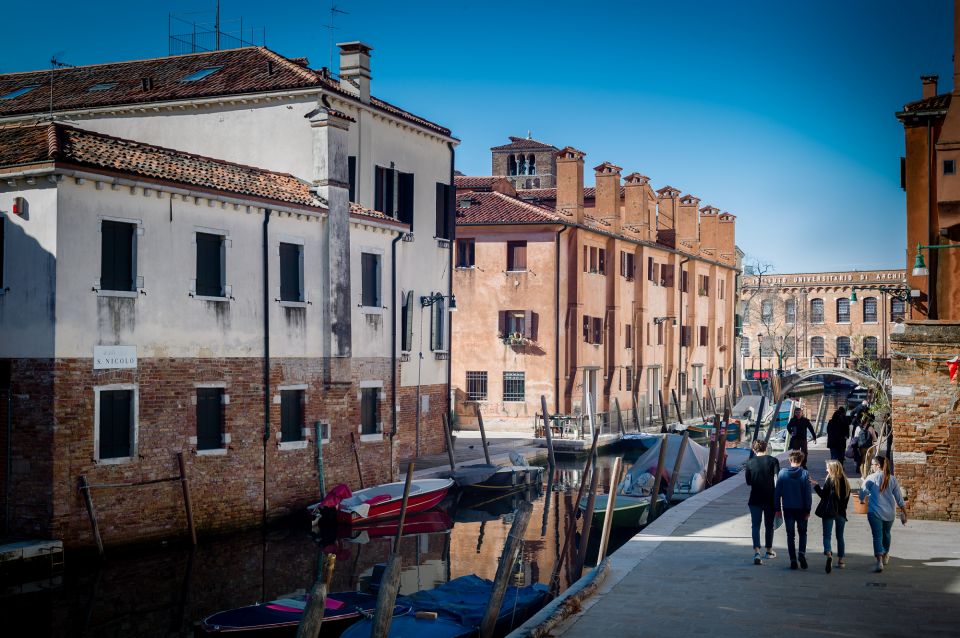
This is a 2-hour guided photo session, and the key word is guided. You’re not left to freestyle for the whole time. The photographer decides the itinerary on the spot based on weather and light, which changes the feel from moment to moment.
Here’s what that usually translates to during your walk:
- You begin by getting oriented to what to look for in Venice—lines, textures, and the way alleys frame buildings.
- Then you move through smaller, characteristic streets where the city looks less like a stage set and more like a lived-in place.
- Along the way, the guide keeps you shooting, not just watching.
- Near the end, you wrap back around to the meeting point with a set of images you can actually use, not just random clicks.
Even if you don’t know Venice well, the guide’s job is to steer you toward photo spots that work with your camera or phone and with the conditions of the day.
Hidden corners and “Venice mood”: what lesser-known spots give you
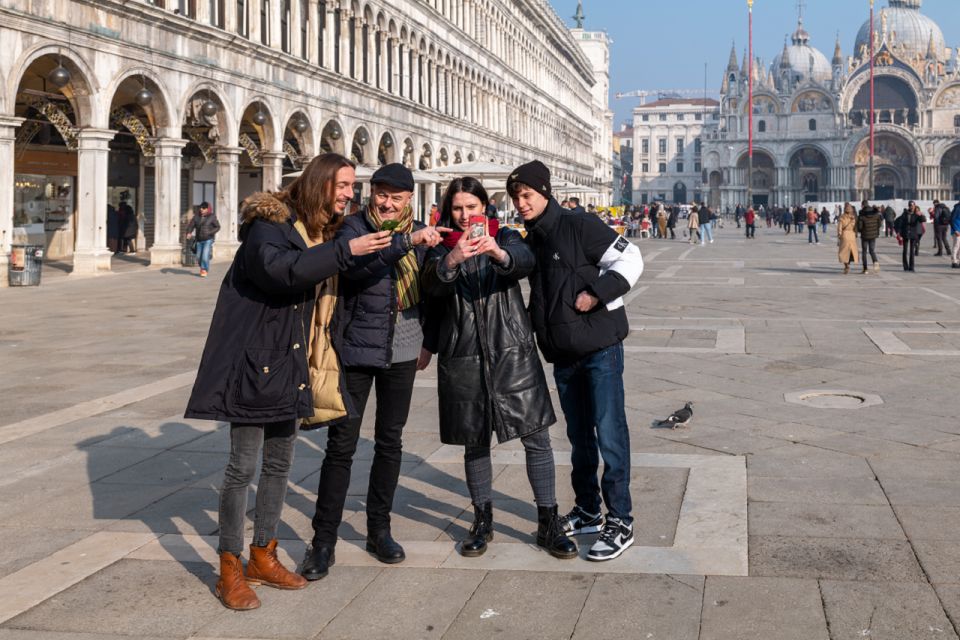
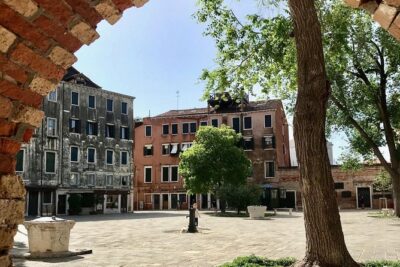
The tour’s promise is simple: romantic, hidden corners away from the worst crowds. That’s a big deal in Venice, because crowds don’t just block your shot—they flatten it. When you remove the crush, you get space to capture something more intimate: quiet passages, graceful curves of stone, small glimpses of water and architecture that feel like you discovered them, not that you queued for them.
The tour leans into alleys and places known only to Venetians and away from city crowds. In practical terms, you’re more likely to find angles where:
- the street feels narrower and more cinematic
- details like doorways, windows, and textures show up clearly
- reflections and shadows look intentional rather than chaotic
The guide also lets you decide what kind of photos you want. That means you can choose to prioritize shots of yourself and shots that are purely “Venice.” In a city like this, that flexibility is gold. Too many tours focus only on the buildings, and too many photo walks focus only on portraits. Here, you can do both.
One consideration: because the photographer adjusts the route based on weather and light, you might not hit the exact “must-see” photos you had in mind. But you should come away with images that feel more real—less like a checklist, more like a personal photo story.
The real value: guidance that improves your framing fast
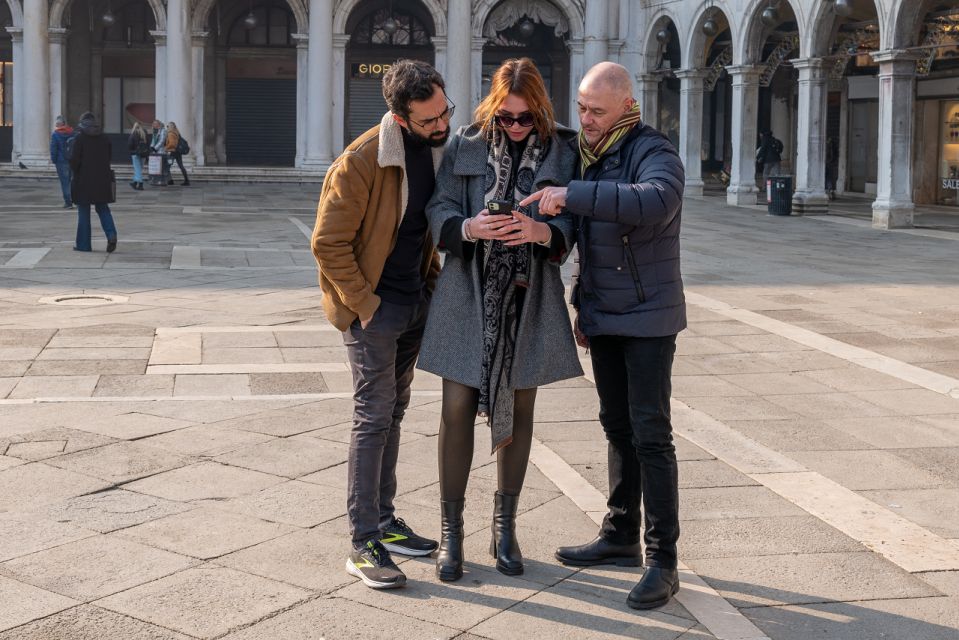
A professional photographer can do two things at once: they can show you where to stand, and they can help you understand how to stand there.
On this tour, you get advice from the instructor while you shoot. That matters in Venice because the city rewards small adjustments:
- Step left or right to straighten a doorway or align a canal view
- Find a higher or lower angle so the scene doesn’t look like a postcard blur
- Use the shape of narrow streets to create leading lines
- Wait a few seconds for the right light to hit stone or water
You’ll also have a better chance to share memorable pictures. Since you’re shooting with a camera or smartphone, you can quickly check your results as you go and adjust. That turns the experience into a feedback loop: shoot, learn, shoot again.
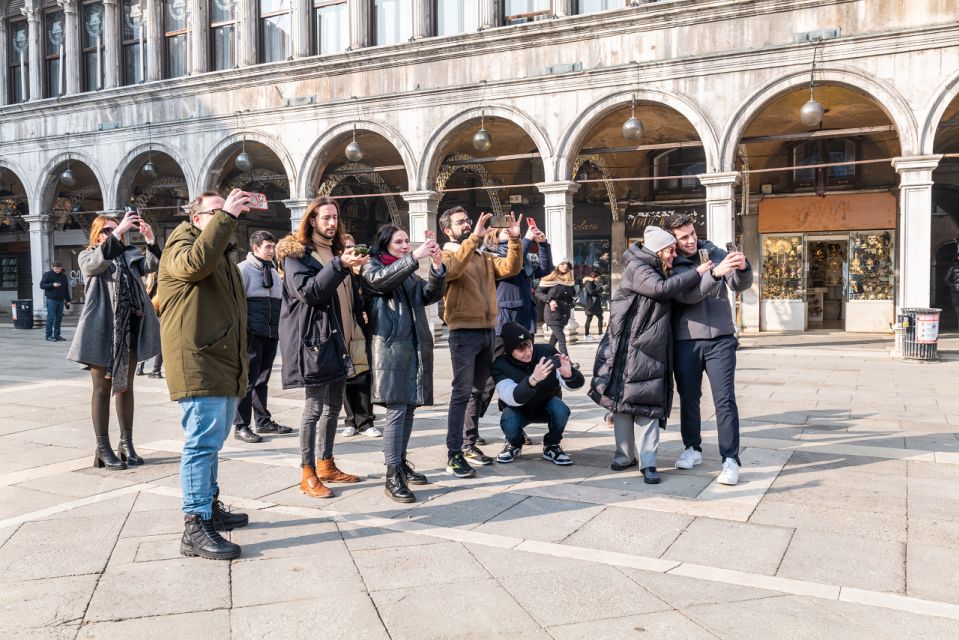
And the small group size helps. With up to 8 participants, you’re less likely to be stuck behind a crowd of other photographers. You can actually move, try an angle, and get back to the group without feeling like you’re holding up the whole walk.
You can also read our reviews of more photography tours in Venice
Smartphone-friendly tips that don’t require special gear
If you’re using a phone, Venice can be both easy and tricky. Easy because everyone can shoot. Tricky because Venice has strong contrast: bright highlights on stone, dark shadows under arches, and reflections that can trick the camera’s automatic exposure.
The good part is you don’t need special equipment. The tour is designed for whatever you bring, and the guide’s coaching is meant to help you create strong images regardless of the device.
A few practical moves that fit this kind of guided session:
- Bring your phone charged enough for photos across two hours (Venice light changes fast)
- If you use a camera, keep settings simple and consistent so you can focus on composition
- Wear comfortable clothes so you can move for the shot without constantly adjusting your outfit
- Expect to take a lot of pictures; the goal is not one “perfect” shot, but a set you’re happy to keep
One more smart idea: decide in your head what you want your final set to include. The tour allows you to choose your direction, so it helps to go in with a plan like: a few portraits plus a few Venice-only details.
What’s not included: equipment and post-production limits
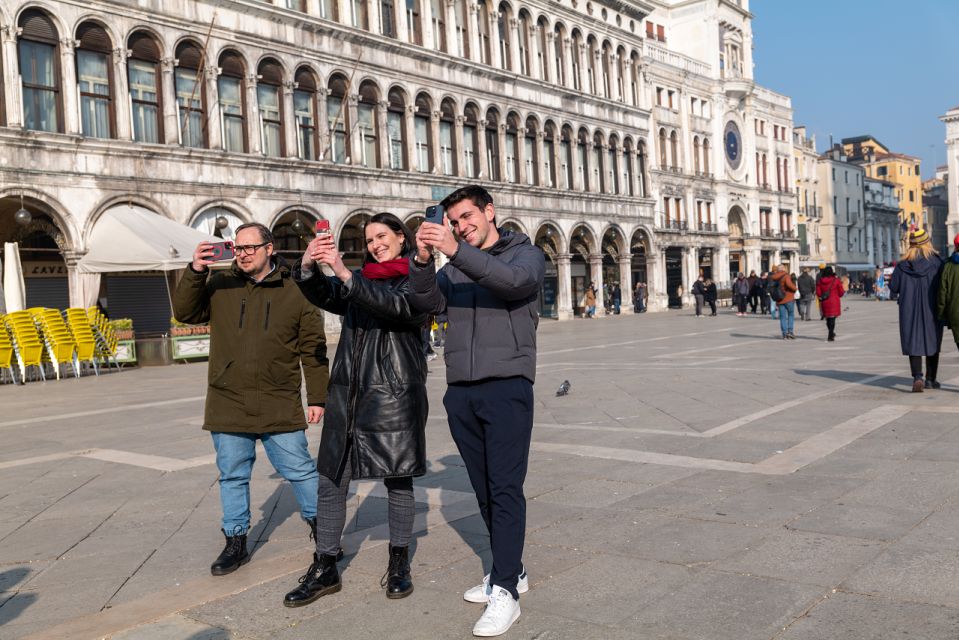
This tour is focused on the photography walk itself. You’re not getting rental gear, and you’re not getting development or post production of photographs.
So if you want polished final edits—especially for social media or print—make a small plan in advance:
- Bring your own camera and any accessories you normally use
- Bring your own system for organizing and editing afterward
- If you’re hoping for a finished, edited photo set, you’ll need to do it yourself after the tour
Also, because the focus is on capturing images during the walk, your “take home” is what you shoot with your own device. The photographer’s guidance improves your results in the moment, but you’re still responsible for the final version.
This isn’t a deal-breaker—it can actually be part of the value. When you shoot on your terms, you’re more likely to keep working with the photos after you get home.
Group size, walking, and who should sign up
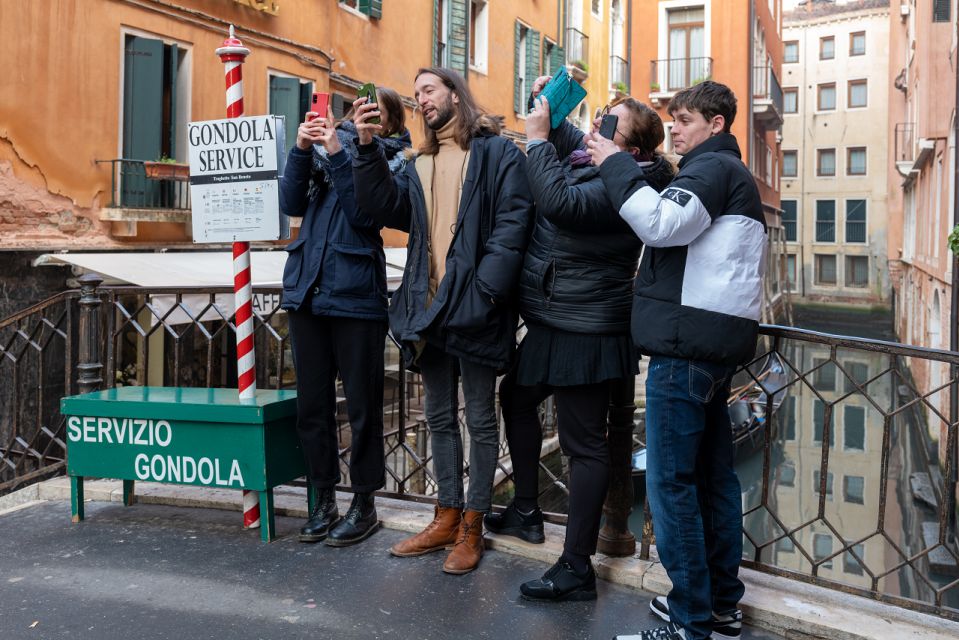
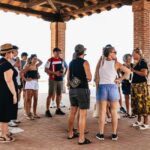
Small group is a real feature here: limited to 8 participants. That keeps the experience from becoming a rapid parade. It also makes it easier for the photographer to notice what you’re doing and adjust advice for your camera or phone style.
The tour is not suitable for people with mobility impairments and wheelchair users. Venice itself is a mix of uneven surfaces and narrow passages, and this style of hidden-spot walk requires movement.
Who this suits best:
- Couples and solo travelers who want a more personal photo set than a standard sightseeing tour
- People who want smartphone help and composition tips, not just a route
- Anyone who enjoys creativity and wants their pictures to look intentional, not accidental
If you want fixed, landmark-by-landmark logistics, this may feel less structured than you expected. But if you want Venice photos that feel like your story, this style fits.
Price and logistics: value for a 2-hour pro-led shoot
At $81.57 per person for 2 hours, you’re paying for a professional photographer guide and a concentrated experience. You’re not paying for travel by bus, museum tickets, or included post-production.
So the value depends on what you want out of Venice:
- If you’re the type who spends time on settings or editing later, a guided shoot can save time and improve results.
- If you’ve tried to photograph Venice on your own and ended up with blurry angles and crowded views, this is a targeted fix.
- If you want the convenience of someone steering you to lesser-known corners while you focus on shooting, the small-group format supports that.
For many people, the best part is that you leave with more than just pictures—you also leave knowing how to look. That’s the kind of value that lasts past the two hours.
How to prepare so you get better shots immediately
To get the most from the session, show up ready to shoot and move. The tour asks for comfortable clothes, and that’s not a vague request. In Venice, comfort affects your ability to reach an angle, wait for light, and experiment.
Here’s a simple prep list you can follow:
- Charge your camera or phone fully
- Bring your usual camera strap or setup (and keep it practical for narrow alleys)
- Wear shoes that handle cobblestones and quick turns
- Think about what you want: portraits, architecture, details, or canal-style views
- Be ready for the itinerary to adjust based on weather and light
If you’re traveling with someone else, decide ahead of time how you want your photos split. The tour is designed so you can get pictures of you and still shoot the city separately—so you don’t have to choose only one outcome.
Should you book this Venice Hidden Spots Guided Photography Tour?
Book it if you want a guided photo session that feels creative and local, not just a sightseeing walk. This is a strong choice when you want help composing shots with either your phone or camera, and when you appreciate lesser-known corners more than the same famous view every day.
Skip it if you need a fixed, checklist-style route tied to specific landmarks, or if mobility limitations make cobblestone alley walking unrealistic for you.
If you fit the sweet spot, this is a smart way to spend two hours in Venice: you’ll get professional guidance, a small group pace, and images that feel like Venice—quiet, romantic, and yours.
FAQ
How long is the Venice Hidden Spots Guided Photography Tour?
The tour lasts 2 hours.
Where is the meeting point?
It starts at the Venice Tours Office in Campo San Gallo, San Marco 1093/B, beside San Marco Square.
What’s the price per person?
The price is $81.57 per person.
What’s included in the tour?
You get a photography tour with a professional photographer guide.
Is photographic equipment included?
No. Photographic equipment is not included.
Can I use a smartphone instead of a camera?
Yes. You can use your camera or smartphone to take and share pictures.
What group size should I expect?
This is a small group limited to 8 participants.
What languages are available?
The instructor is available in English, French, Spanish, and Italian.
Is the tour wheelchair accessible?
No. It’s not suitable for wheelchairs or for people with mobility impairments.